
Everybody's Got One, But Not Like This! Modern Angel Thumbprints (Recipe Included)
I don’t quite recall but angel thumbprints may well have been the first kind of cookie I ever learned to make. This is because they were one of the very few types of cookies my mother could make well. Don’t get me wrong, my mother is a brilliant woman, literally. She has two master’s degrees and when she retired from teaching the hall reserved for her retirement party had to be changed more than once to accommodate the huge number of former student teachers, now well-established teachers themselves, former students and, it seemed like, every teacher I had even heard her mention over her long career. My mother is truly amazing, it’s just that she can’t cook or bake to save her life.
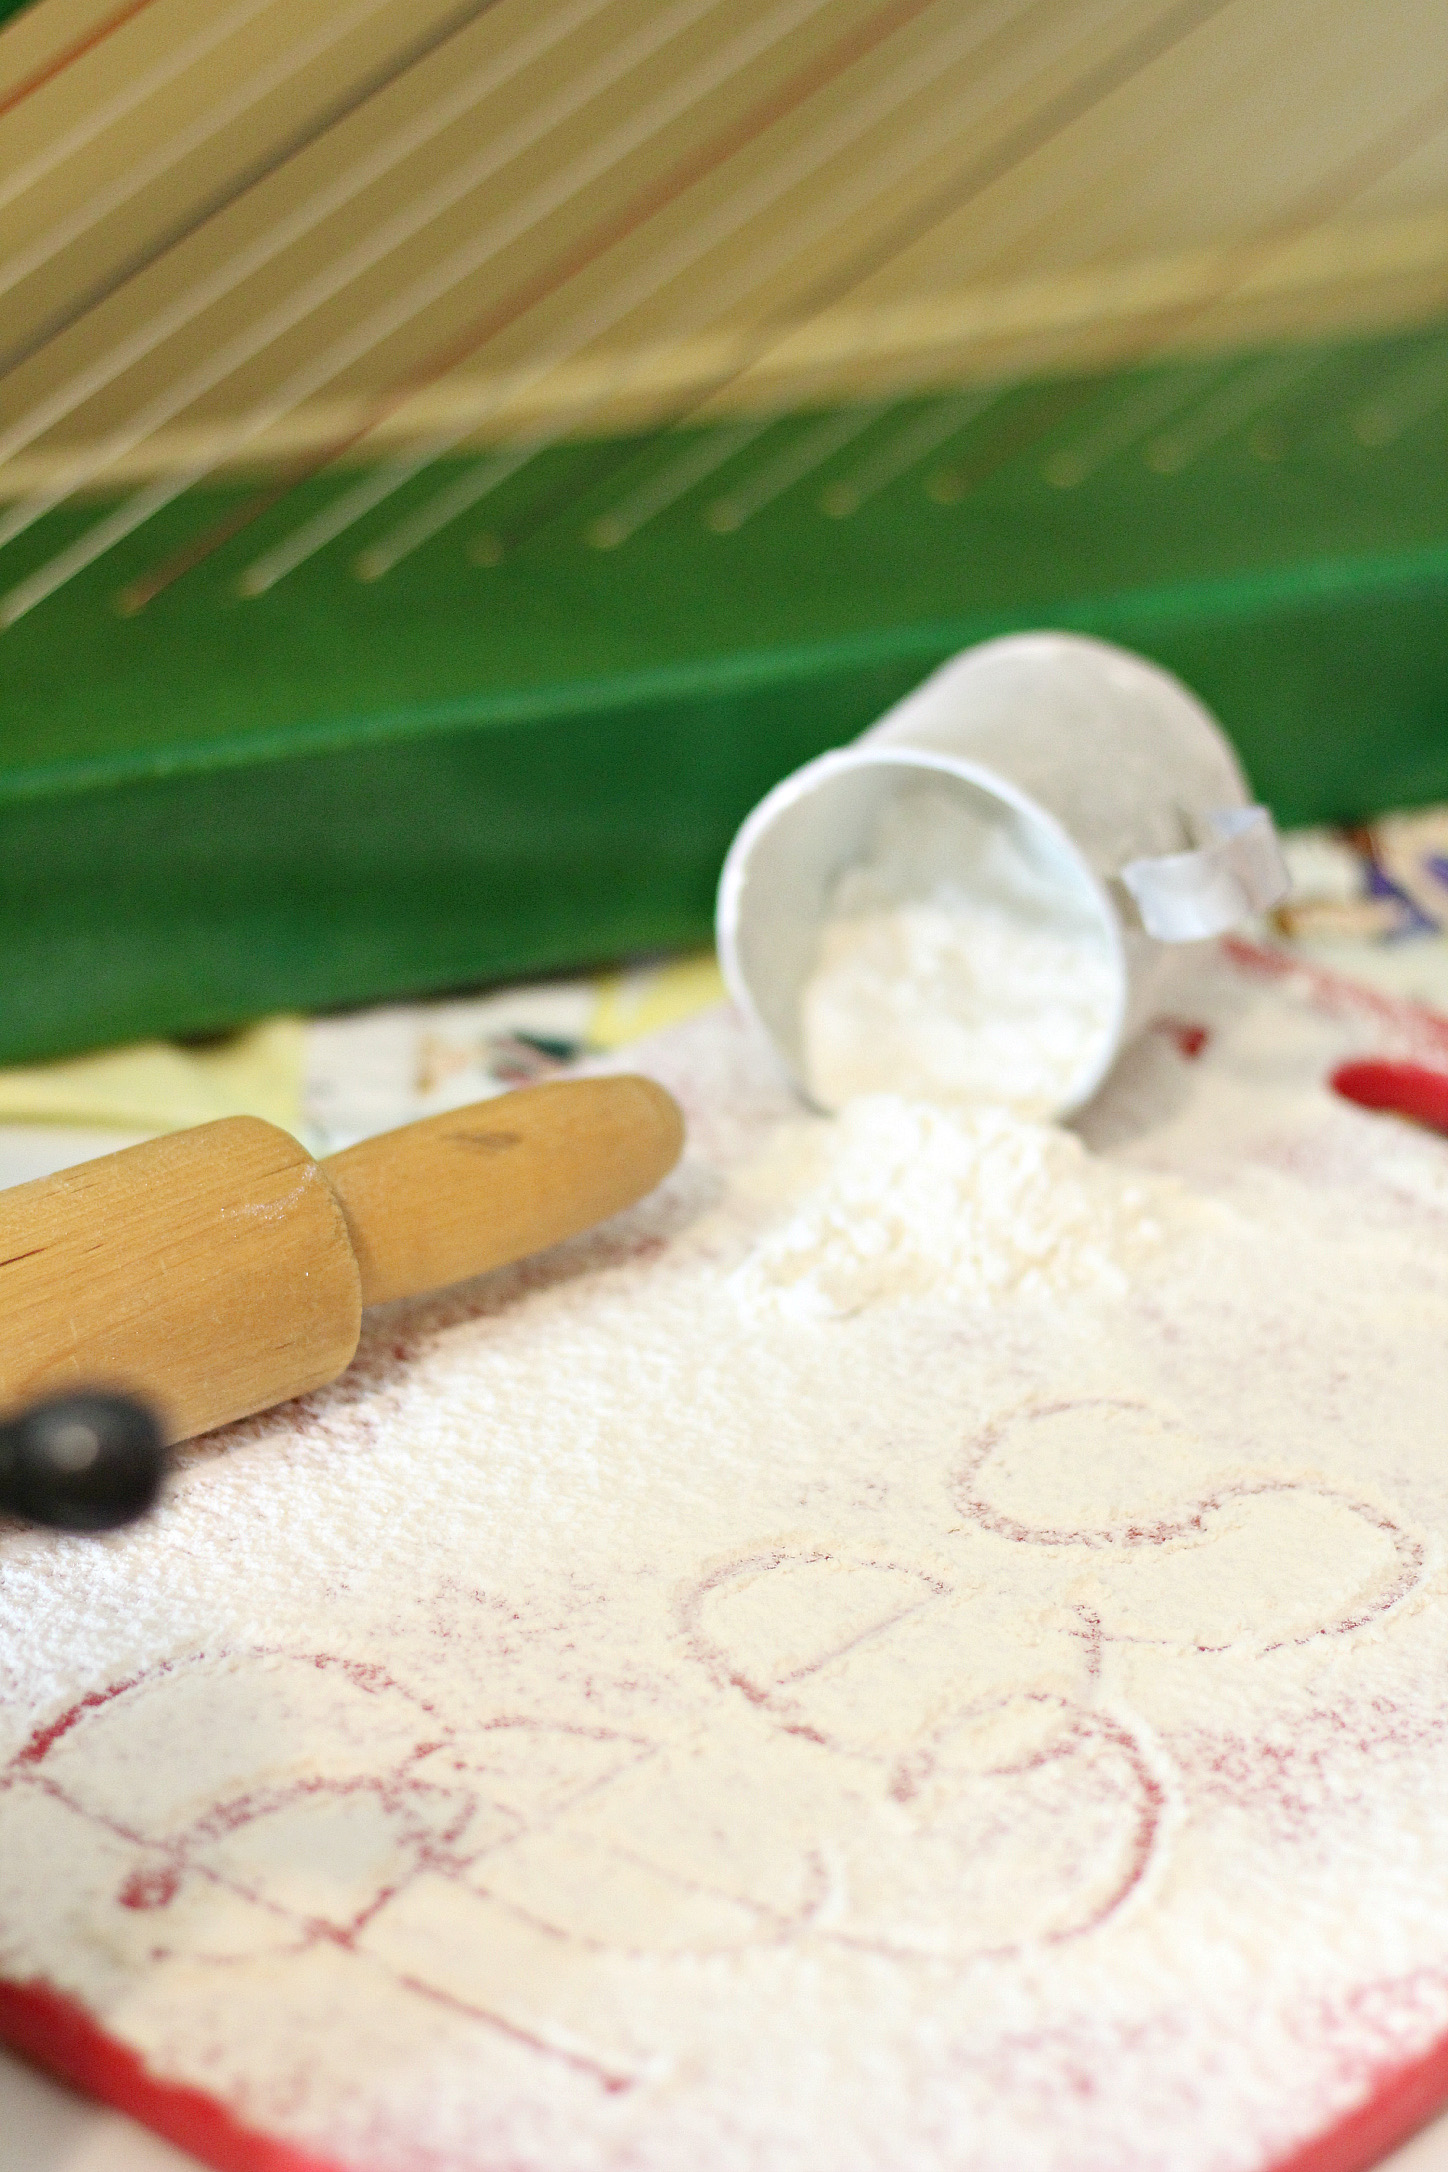
Vera’s measuring cup
Over the years my mom had a handful of recipes she had mastered and let’s just say that the rest involved many, many, many well-meaning attempts. As a matter of self-defense, I started learning to cook and bake quite early on. My mom had an enormous influence on me but I think it’s safe to say that it was my grandmothers who taught me how to cook and how to bake. My mom’s mother, Mary, had a flock of sisters as well and when they all got together in the kitchen, “whooowheee!,” as Mary would have said, “that was sure somethin’ to see!”
My grandmother’s oldest sister, Vera, was born before the turn of the century before last. (It’s strange to think of it that way!) That old tin measuring cup you can see in the photo here was hers and I truly think of her every single time I use it. Vera and her husband were sharecroppers and lived in a tiny little house that never did get modern plumbing even though Vera lived there well into the 1970’s. We were all pretty thrilled, as was Vera, when a hand pump was installed in the kitchen sink so well water could be pumped inside the house. Trust me, in comparison to going out in Kansas snow to bring water up from the well, it was very, very exciting.
Anyway, Vera was the first person who ever taught me what people now talk about as the “chemistry” of baking. It wasn’t that for Vera, of course, it was just the way it was done. I distinctly recall that Vera asked me to “whip-up some biscuits,” for dinner, and when I asked her for the recipe she laughed, told all my other great aunts (who all laughed as well and mentioned something about my home state, California…LOL), and then got down to showing me why I just needed to go by feel. Vera only ever had that one tin measuring cup and she used a standard soup spoon to measure all her small quantities. To Vera, a quarter teaspoon was a little pile about half the size of her pinky fingernail. For baking, Vera would just feel the crumb or the elasticity of the dough and know when something was right. I’ll admit, I’m still a recipe kind of girl but I do, to this very day, know when biscuits or pie crust or cookies are right just by the feel. It was passed down to me and I’m so very thankful.
This year, when it came time to make angel thumbprints, I decided to throw both caution and tradition to the wind and try a recipe, from Bon Appetit, that I had set aside years ago. I made some changes but the heart of this version definitely came from them. With this version the nuts are ground into the dough and there is a combination and pop of flavors, when combined with the bright fillings I suggest here, that has caused me to decide that this cookie will definitely be making an annual appearance in my holiday baking. The homemade pomegranate jelly filling came from a different cookie recipe but looked too good to pass-up. My thanks for this latter goes to Cuisine at Home, Issue 120.
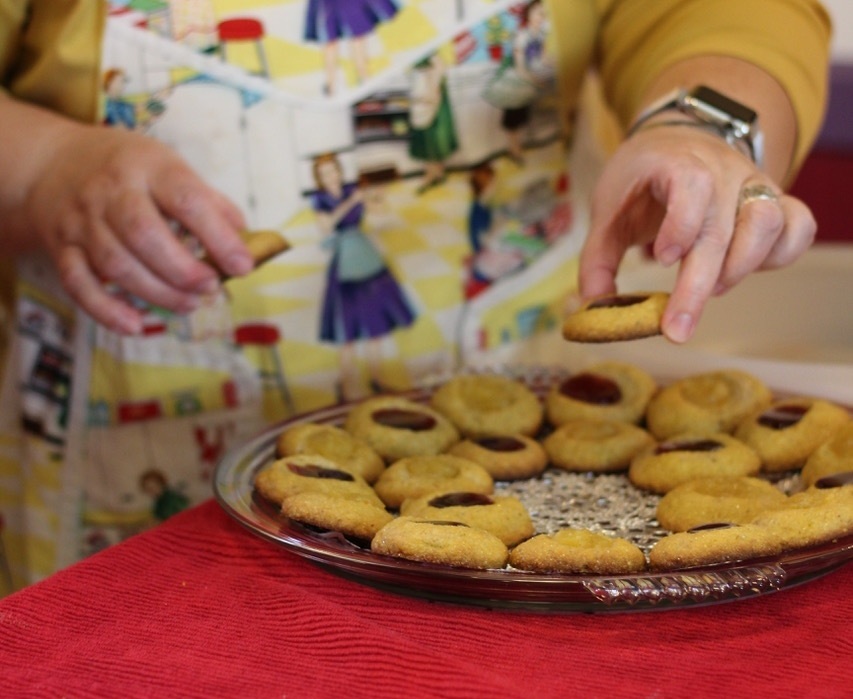
Roasted-Almond Angel Thumbprints with Lemon Curd and Homemade Pomegranate Jelly
Cookie Ingredients
• 1 1/2 c all-purpose flour – again, I advocate for King Arthur or White Lilly. I really do think I get a softer crumb and better mouth-feel from these lesser known but widely available flours.
• 1 1/2 c unsalted, roasted almonds
• 1 tsp baking powder
• 1/2 kosher salt
• 1 c unsalted butter at room temperature – in this case I do use unsalted butter and I do let it stay out until it is softened to room temperature, however, I don’t use American-style butter. For all my baking I use European-style butter, some of it made by top-notch American dairies. Over the years I have tried both and I get consistently better results with the higher butterfat and unique cultures in the European-style.
• 1/2 c granulated sugar
• 1 large egg – I’m partial to free-range brown eggs but what you use is between you and the chicken involved. Whatever you do though, that elderly egg that has been cooling its heels in your fridge is not a candidate for baking. Use that baby in an omelet and buy fresh eggs for this project.
• 1 tsp vanilla double-strength – the last few weeks I have talked about why I strongly recommend Penzey’s Vanilla Double-Strength so I’ll skip the lengthy note this time and just give you the link so you too can place an order and have this indispensable baking ingredient.
• 1/2 c sanding sugar – clear or gold is best for this
• jam or lemon curd, or both, for filling – you can use any kind of jam you like and commercially available lemon curd is fine but if you take the extra few minutes to make the pomegranate jelly below, it is both easy and time well spent. I did half of mine with pomegranate and half with lemon curd. That turned out to be a terrific combination so I highly recommend it.
Pomegranate Jelly Ingredients
• 2/3 c pomegranate juice – Since this was my first time making this recipe, I just bought the commonly available Pom brand. Do be sure not to get one of the mixtures though. The bottles look really similar.
• 2/3 c granulated sugar
• 1TBSP cornstarch
• 1 TBSP fresh lemon juice – Yes! Please buy a lemon. That old, dead stuff in the yellow plastic ball is not a substitute.
For the Cookies

James versus the almonds
1. Prepare two baking sheets by lining them with parchment. Set aside. If you only own one or have a small oven, that’s alright, just be sure to wait until the baking sheet has cooled before putting a fresh sheet of parchment and the second batch of cookies on it.
2. Pulse flour and almonds in a food processor until the almonds are very well ground. Just a little more corse than cornmeal is right so that means a LOT of pulsing. My nephew, James, who works with William in the shop building harps, also loves to cook and he came over to help. We were both lucky we weren’t in an incredible hurry because getting the almonds fine enough was a production even though James was incredibly diligent about it. I took a quick photo to “commemorate” his battle with the almonds. He won but it was touch and go there for a while!
3. You can preheat your oven to 375 degrees at this point because once the almonds have been defeated, the rest of this cookie goes quite quickly.
4. Add the baking powder and salt into the food processor and pulse to blend well. Remember that you want the baking powder to be evenly distributed throughout the batter.
5. In a bowl, use an electric mixer to beat together the butter and sugar until light and fluffy. Air is your friend in this batter so go for the fluff! Depending upon your mixer, this will take between three and four minutes.
6. Now add the egg and vanilla and beat, on a fairly high setting, until pale and fluffy. The original recipe says four minutes but I always beat my eggs thoroughly before adding them in and, in this case, I made sure the egg was fluffy in the first place. That cut my overall time beating the batter down to about ninety seconds in my standing mixer.
7. Reduce the speed of the electric mixer down to low and add in the dry ingredients. Mix them just enough to combine evenly. You don’t want to beat out all that hard-won air.
8. Chill the dough for 30 minutes.
9. Place the sanding sugar in a shallow bowl. Personally, I use a pie plate. I think having the larger area and low sides makes things go a bit faster.
10. Take your chilled dough out and scoop it up by the, approximate, tablespoon. Roll it into a ball between your hands. Work quickly so the dough doesn’t warm up too much and get sticky. If it does, just pop it back into the refrigerator for a few minutes to chill it down again.
11. Roll each ball of dough in the sanding sugar and place it on the baking sheet about two inches from its neighbors or from the edge of the sheet. Using your thumb make a deep indent in each ball. Be sure not to press all the way through and if an edge splits so deeply that a crack forms from the edge to the center of the cookie, make a quick repair. Those centers have to be suitable for containing the jam or jelly later on!
12. Bake for 12 to 14 minutes until they are pleasantly golden. They will be a little toastier brown on the bottom and that is just fine. If you are using two racks in your oven, swap the baking sheets about half-way through. It won’t hurt to rotate the sheets when you swap them as well. These cookies won’t fall so you can prioritize an even bake without worry.
13. Once out of the oven, allow the cookies to cool on the baking sheet for a couple of minutes and then transfer them to a wire rack. Allow them to cool completely before filling.
14. You can fill the cookies with any store-bought jam you particularly like. I recommend lemon curd because it has a bright tang which compliments the toasty flavor of the cookies. And the pomegranate jelly below? Well, it’s just yummmmmmmmmmm.
For the (Quick and Easy) Pomegranate Jelly

1. Heat the pomegranate juice and sugar in a small saucepan over medium-high heat. Bring it to a boil and keep stirring until the sugar is completely dissolved. To check this, use a spoon and dip out a tiny amount. Let it air cool. Look for granules and then taste for them as well. Sometimes your tongue can feel a texture missed by your eyes.
2. Once the sugar has dissolved, whisk in the cornstarch and lemon juice.
3. Continue to boil, stirring occasionally, until the mixture is very thick. The original recipe says six to eight minutes but I waited eight minutes and mine was still not thick enough after I took it off the stove. Wait until it really has some body to it before allowing the mixture to cool.
4. Once it has cooled just a bit, you can spoon it into your cooled thumbprint cookies.
I do hope you give these a try. They are a delicious update of the basic thumbprint and I very much enjoyed making and sharing (and eating!) them. It would make Mary, Vera and all the sisters giggle to see all the detail I have put in this recipe but it’s just a fact of modern life that most of us don’t bake nearly as often as they did and we need all the help we can get. I’ll be sending some of these to my mom and dad too. It’s safer that way. * wink *
Only two more recipes to go and we will be all the way through December! Just wait until you see what I have in store for you! Until next week, cheers! – Pamela